

hoverboard manual
Hoverboard Manual: Comprehensive Guide & Troubleshooting
This manual provides detailed repair steps for common hoverboard issues, saving you time and money. It covers everything from battery problems to motor malfunctions!
Hoverboards, also known as self-balancing scooters, have rapidly gained popularity as a fun and convenient mode of transportation. These innovative devices utilize sophisticated gyroscopic technology and pressure sensors to maintain balance, allowing riders to effortlessly glide along various surfaces. Initially appearing as a futuristic concept, hoverboards have become increasingly accessible and affordable, appealing to a wide range of users.
However, like any electronic device, hoverboards can encounter issues requiring troubleshooting and repair. This guide aims to empower owners with the knowledge and skills to diagnose and resolve common problems, extending the lifespan of their hoverboard and ensuring a safe and enjoyable riding experience. Understanding the core principles of operation is crucial for effective maintenance and repair.
Understanding Hoverboard Components
A typical hoverboard consists of several key components working in harmony. These include a powerful battery pack, usually lithium-ion, providing the energy source. Two electric motors, one for each wheel, drive the movement. Gyroscopic sensors and accelerometers are vital for maintaining balance, constantly adjusting motor speeds. A pressure-sensitive footpad detects the rider’s weight distribution, controlling direction and speed.
The outer shell provides structural integrity and protection for the internal components. A sophisticated control board manages all functions, interpreting sensor data and regulating power output. Understanding the function of each part is essential for diagnosing issues and performing effective repairs, ensuring optimal performance and safety.
Safety First: Before You Ride
Prioritize safety! Always inspect your hoverboard and wear appropriate protective gear before each ride to prevent potential injuries and ensure a fun experience.
Wearing Protective Gear
Your safety is paramount when riding a hoverboard. Always wear a properly fitted helmet, certified for impact resistance, to protect against head injuries. Knee pads and elbow pads are highly recommended, especially for beginners, to cushion falls and prevent scrapes.
Wrist guards can also be beneficial, as instinctively bracing a fall often leads to wrist injuries. Closed-toe shoes with good ankle support are essential; avoid sandals or flip-flops. Brightly colored or reflective clothing increases visibility, particularly when riding in low-light conditions.
Consider wearing padded shorts or impact-resistant pants for added protection. Regularly inspect your protective gear for wear and tear, replacing items as needed. Remember, protective gear significantly reduces the risk of serious injury.
Pre-Ride Inspection Checklist
Before each ride, a thorough inspection is crucial for safe operation. First, check the battery indicator to ensure sufficient charge for your intended distance. Inspect the tires for any signs of wear, damage, or improper inflation. Verify that all screws and bolts are tightened securely; loose hardware can lead to instability.
Test the power button and ensure the hoverboard turns on and off smoothly. Check the footpads for cleanliness and grip; debris can cause slipping. Listen for any unusual noises from the motors or wheels. Finally, confirm the balance is stable and responsive before mounting.
A quick pre-ride check can prevent accidents and extend the lifespan of your hoverboard.

Charging Your Hoverboard
Proper charging extends battery life and ensures optimal performance. Always use the provided charger and follow recommended charging times for safety.
Proper Charging Procedures
Always utilize the charger specifically designed for your hoverboard model. Using an incompatible charger can severely damage the battery and potentially create a safety hazard. Before connecting the charger, ensure both the hoverboard’s charging port and the charger’s connector are clean and free of debris. Connect the charger to a standard wall outlet, avoiding extension cords or power strips whenever possible.
The initial charge may take longer than subsequent charges. A solid indicator light typically signifies a full charge, but consult your hoverboard’s specific instructions. Never leave a charging hoverboard unattended for extended periods, especially overnight. Disconnect the charger immediately once the battery is fully charged to prevent overcharging, which can reduce battery lifespan and pose a fire risk. Avoid charging in extremely hot or cold environments.
Battery Maintenance & Lifespan
Proper battery care is crucial for maximizing your hoverboard’s performance and longevity. Avoid completely draining the battery before recharging, as this can shorten its lifespan. Instead, aim to recharge when the battery reaches around 20-30% capacity. Store your hoverboard in a cool, dry place when not in use, away from direct sunlight and extreme temperatures.
Regularly check the battery for any signs of damage, such as swelling or leakage. If you notice any abnormalities, discontinue use immediately. The lifespan of a hoverboard battery typically ranges from several months to a few years, depending on usage and maintenance. Over time, you may notice a decrease in range or performance, indicating the battery needs replacement.

Basic Operation & Controls
Mastering the controls is key to a smooth ride! Learn how to power on/off, steer effectively, and maintain balance for optimal hoverboard enjoyment.
Powering On/Off
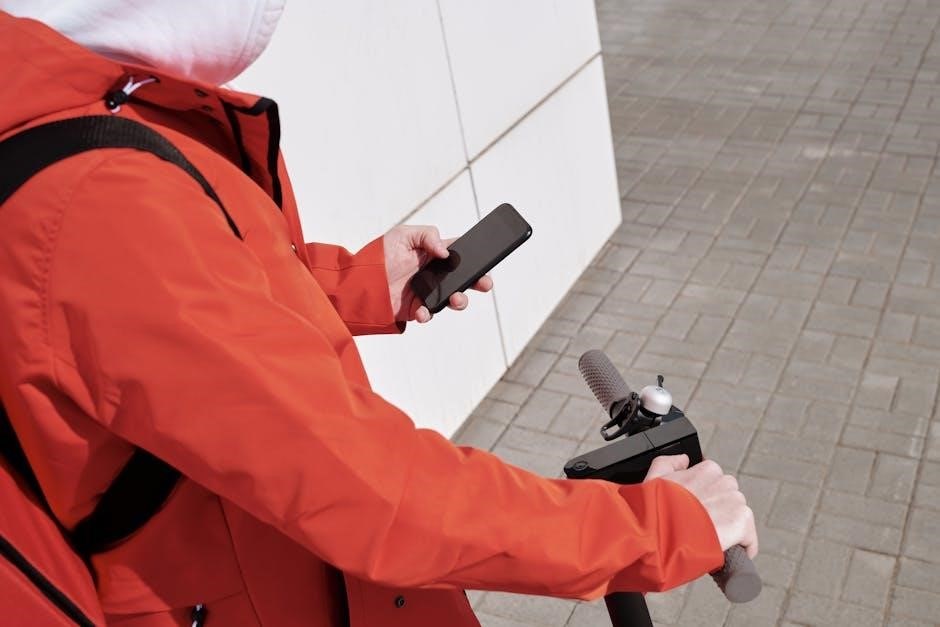
Initiating Operation: To power on your hoverboard, locate the clearly marked power button – typically found near the charging port. A firm, single press will activate the internal systems. You’ll usually see indicator lights illuminate, confirming the device is ready. Ensure the hoverboard is placed on a level surface before attempting to power it on, preventing unexpected movement.
Safe Shutdown Procedure: Turning off the hoverboard is equally straightforward. Press and hold the power button for a few seconds until the indicator lights extinguish. A quick tap will not suffice; a sustained press is required for a complete shutdown. Always power off the device before storing it or transporting it, conserving battery life and preventing accidental activation. Never disconnect the power while the device is in operation.
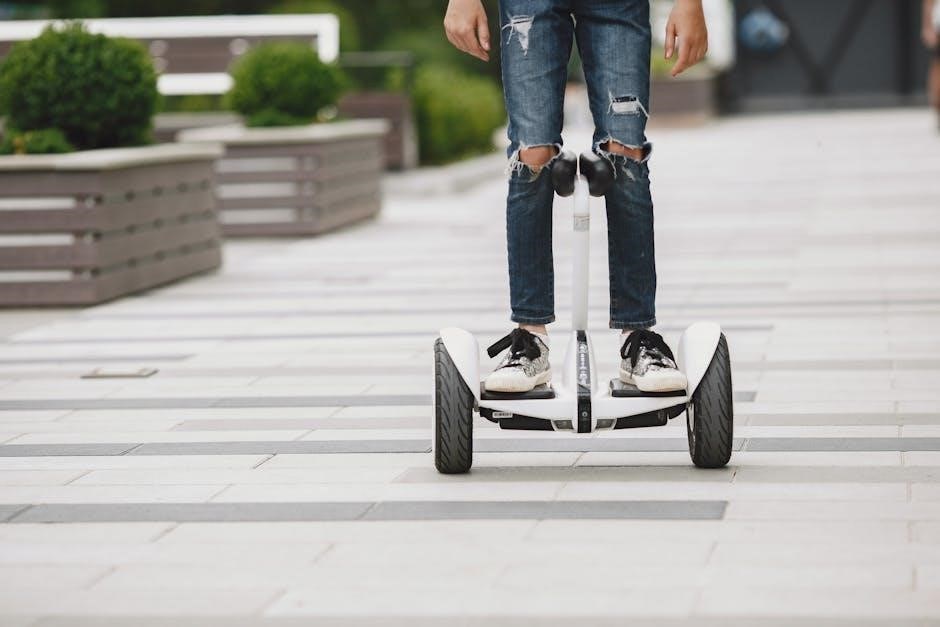
Steering & Balancing Techniques
Mastering the Art of Movement: Steering a hoverboard relies on subtle shifts in your weight. Gently lean in the direction you wish to travel. Avoid abrupt or jerky movements, as these can disrupt your balance. Start with small, controlled leans to get a feel for the responsiveness.
Maintaining Equilibrium: Balancing is key! Keep your knees slightly bent, acting as shock absorbers. Engage your core muscles for added stability. Look ahead, not down at your feet. Practice in a spacious, open area, free from obstacles. Initially, having a spotter can provide reassurance. Gradually increase your speed as your confidence grows, always prioritizing controlled movements and a centered posture.

Troubleshooting Common Issues
Don’t panic! This section details solutions for typical hoverboard problems, including battery issues, motor malfunctions, and calibration needs for smooth rides.
Hoverboard Won’t Turn On
If your hoverboard fails to power on, begin with the simplest checks. Ensure the charging port is securely connected to both the hoverboard and a functioning power outlet. Verify the charging indicator light illuminates, signifying power reception.
Next, press and hold the power button for several seconds – sometimes a longer press is required. If still unresponsive, inspect the charging cable for any visible damage, like fraying or breaks. A faulty cable prevents charging and operation.
Check the power switch located near the charging port; ensure it’s in the ‘on’ position. Finally, if these steps fail, the battery might be completely drained or defective, potentially requiring professional assessment or replacement.
One Wheel Not Working
Experiencing a hoverboard with only one functioning wheel requires systematic troubleshooting. First, power off the device immediately to prevent further damage. Carefully inspect the non-working wheel for any obstructions – debris, wires, or physical damage. Gently try to rotate the wheel by hand; resistance indicates a potential motor issue.
Check the wiring connections to the motor of the affected wheel. Loose or disconnected wires are a common cause; If comfortable, carefully reseat the connections. If the problem persists, the motor itself may be faulty and require replacement.
Consider sensor issues; a malfunctioning sensor can prevent the wheel from operating correctly. Professional diagnosis is often needed for sensor-related problems.
Hoverboard Beeping or Flashing Lights
Hoverboard beeping and flashing lights are often diagnostic signals indicating a specific problem. Consult your hoverboard’s specific manual to decipher the code – different patterns signify different issues. Common causes include low battery, overheating, or a system error.
If the battery is low, charge the hoverboard fully and observe if the beeping stops. Overheating usually resolves itself after the device cools down. However, persistent beeping after charging and cooling suggests a more serious internal fault.
System errors may require a reset or, in some cases, professional repair. Avoid continued use if the beeping persists, as it could indicate a safety hazard.
Balance Issues & Calibration
Experiencing difficulty maintaining balance on your hoverboard is common, especially for new users. Initial wobbling is normal as you learn to coordinate. However, persistent balance problems may indicate a need for calibration. Most hoverboards feature a self-calibration function, typically initiated by holding the power button for a specific duration while the device is level.
Ensure the hoverboard is on a flat, even surface during calibration. If self-calibration fails, some models require a manual reset using a pinhole button. Regularly calibrating your hoverboard ensures accurate sensor readings and optimal performance, improving stability and control.
Slow Speed or Reduced Range
A noticeable decrease in speed or a shorter riding range can stem from several factors. Firstly, ensure the hoverboard is fully charged; a low battery significantly impacts performance. Secondly, check tire pressure – underinflated tires increase resistance. Rider weight also plays a role; exceeding the weight limit reduces both speed and range.
Furthermore, consistent riding on inclines or rough terrain drains the battery faster. Inspect the battery’s health; older batteries naturally lose capacity. Finally, ensure the motors aren’t obstructed by debris. Addressing these points can restore optimal speed and extend your hoverboard’s range.

Advanced Troubleshooting
For complex issues, this section details motor repair, battery replacement, sensor calibration, and firmware updates to restore full functionality.
Motor Malfunctions & Repair
Diagnosing motor issues requires careful observation. Listen for unusual noises – grinding, clicking, or a complete lack of response. If a motor isn’t responding, first check the wiring connections to ensure they are secure and undamaged. A multimeter can test for continuity, identifying broken wires.
For minor repairs, you might be able to replace individual motor components like brushes (if applicable). However, complete motor replacement is often necessary for significant failures. Always disconnect the battery before attempting any motor repair.
When replacing a motor, ensure the new unit is compatible with your hoverboard model. Incorrect motors can cause further damage. Securely mount the new motor and reconnect all wiring, verifying proper polarity. Test the hoverboard in a safe, open area after the repair.
Battery Replacement Guide
Replacing a hoverboard battery demands caution. Always disconnect the old battery before handling it, and avoid puncturing or damaging the cells. Identify the battery’s voltage and capacity (Wh) – these must match the replacement. Incorrect batteries can cause malfunctions or safety hazards.
Carefully remove the old battery from its compartment, noting the wiring configuration. Connect the new battery, ensuring correct polarity (positive to positive, negative to negative). Secure the battery firmly within the compartment to prevent movement during operation.
After installation, fully charge the new battery before use. Dispose of the old battery responsibly at a designated recycling facility – do not discard it with regular waste.
Sensor Calibration Procedures
Proper sensor calibration is crucial for smooth hoverboard operation. If your hoverboard drifts, wobbles, or responds inconsistently, calibration is likely needed. Begin by placing the hoverboard on a perfectly level surface. Power it off, then on, ensuring it’s stationary throughout the process.
Most hoverboards have a calibration mode activated by a specific button sequence (consult your model’s specific instructions). Follow the on-screen prompts or listen for audible cues indicating successful calibration.
Repeat the calibration process if issues persist. Ensure no obstructions interfere with the sensors during calibration. Regular calibration maintains optimal balance and responsiveness.
Firmware Updates & Troubleshooting
Keeping your hoverboard’s firmware updated is vital for optimal performance and bug fixes. Manufacturers frequently release updates addressing stability, safety, and new features. Check the manufacturer’s app or website for available updates specific to your model.
Before updating, ensure a full battery charge and a stable internet connection. Follow the on-screen instructions carefully during the update process – interruption can brick the device.
If an update fails, try restarting the hoverboard and repeating the process. If problems persist, contact customer support for assistance. Outdated firmware can cause various issues, so staying current is recommended.
Maintenance & Care
Regular cleaning and proper storage are essential for extending your hoverboard’s lifespan. Consistent care ensures safe and enjoyable gliding experiences for years!
Cleaning Your Hoverboard
Maintaining a clean hoverboard is crucial for optimal performance and longevity. Before cleaning, always ensure the hoverboard is powered off and the battery is disconnected from the power source. Use a soft, damp cloth to wipe down the exterior surfaces, removing dirt, dust, and grime. Avoid using harsh chemicals, abrasive cleaners, or excessive water, as these can damage the internal components or the finish.
Pay close attention to the wheel wells, removing any accumulated debris. For stubborn stains, a mild soap solution can be used, but ensure it’s thoroughly rinsed and the area is dried completely. Regularly inspect the footpads for wear and tear, and clean them to maintain grip. Proper cleaning not only keeps your hoverboard looking its best but also helps prevent potential malfunctions caused by dirt buildup.
Storage Recommendations
Proper storage is essential to preserve your hoverboard’s battery health and overall condition. When storing for extended periods, fully charge the battery, then discharge it to approximately 50-60% capacity. This prevents over-discharge, which can damage the battery. Store the hoverboard in a cool, dry place, away from direct sunlight and extreme temperatures.
Avoid storing it in humid environments, as moisture can corrode internal components. It’s best to cover the hoverboard with a breathable cloth to protect it from dust and scratches. Periodically check the battery level during long-term storage and recharge it as needed to maintain the 50-60% level. Following these recommendations will ensure your hoverboard is ready to ride when you are!
Repair Resources & Where to Find Help
Locate DIY repair kits and tools online, or seek professional repair services for complex issues. Skilled technicians can diagnose and fix problems efficiently.
DIY Repair Kits & Tools
For the handy owner, several DIY repair kits are available online, offering components like replacement motors, batteries, and sensor modules. Essential tools include a screwdriver set (Phillips and flathead), a multimeter for electrical testing, wire strippers, and potentially a soldering iron for more intricate repairs. Always prioritize safety; disconnect the battery before any internal work.
Consider purchasing a hoverboard-specific tool kit, as these often contain specialized instruments for accessing internal components. Online retailers and some electronics stores stock these kits. Before starting, consult online forums and video tutorials to understand the repair process thoroughly. Remember that attempting repairs yourself may void your warranty, so weigh the risks carefully.
Professional Repair Services
When DIY repairs seem daunting or beyond your skillset, seeking professional assistance is a wise choice. Many electronics repair shops now offer hoverboard repair services, specializing in diagnosing and fixing common issues. Look for technicians experienced with self-balancing scooters, as their expertise ensures a quality repair;
GYROOR and HYPER GOGO, popular hoverboard brands, may offer their own repair services or recommend authorized repair centers. Online searches for “hoverboard repair near me” will yield local options. Obtain quotes from multiple shops before committing, and inquire about their warranty on repairs. Professional services provide peace of mind and can restore your hoverboard to safe operating condition.

Frequently Asked Questions (FAQ)
This section addresses common hoverboard concerns, offering quick answers to frequently asked questions about operation, maintenance, and troubleshooting for all users.
Common Hoverboard Questions Answered
Q: Why won’t my hoverboard turn on? A: Check the charging cable and power switch. Ensure it’s fully charged and the switch is firmly in the ‘on’ position. A faulty battery may also be the cause.
Q: What if one wheel isn’t working? A: Inspect for obstructions and calibrate the sensors. A motor malfunction could require professional repair.
Q: Why is my hoverboard beeping? A: Beeping often indicates low battery or a system error. Consult the manual for specific beep codes and troubleshooting steps.
Q: How do I improve balance? A: Practice in a safe, open area. Calibrate the sensors and ensure proper posture. Start slowly and gradually increase speed.
Q: What’s the typical battery lifespan? A: Battery life varies, but proper charging and storage can maximize it. Expect gradual degradation over time, potentially requiring replacement.
Warranty Information
Understand your hoverboard’s warranty coverage for defects and malfunctions. Review the terms and conditions for repair or replacement eligibility details.
Understanding Your Hoverboard’s Warranty
Your hoverboard warranty is a crucial document outlining the manufacturer’s commitment to product quality and customer satisfaction. Carefully review the warranty details upon purchase to understand the coverage period, typically ranging from 90 days to one year, though this can vary significantly between brands like GYROOR and HYPER GOGO.
The warranty generally covers defects in materials and workmanship under normal use. However, it often excludes damage resulting from misuse, accidents, modifications, or normal wear and tear. Pay close attention to what’s not covered, such as battery degradation over time.
To make a warranty claim, you’ll usually need to provide proof of purchase and a detailed description of the issue. Contact the manufacturer or retailer directly for instructions on initiating the claim process and potential repair or replacement options. Keep your receipt safe!